Walls and ceilings across the island
Drywall repair on Bainbridge Island, sized to the actual damage
Most wall damage is smaller than it looks. A photo is usually enough for us to say plainly whether it's a one-visit patch, a larger section of new board, or something you can handle yourself with a putty knife and an afternoon.
We fix leak stains, cracked seams, holes, nail pops and the plain, smooth finishes common in custom homes here. Small jobs are fine, and so are questions.
Services
The work: four repairs that cover most calls
Nearly every request fits one of these. If yours doesn't, describe it anyway and we'll say whether it's ours to do.
- Water-damaged drywall repair
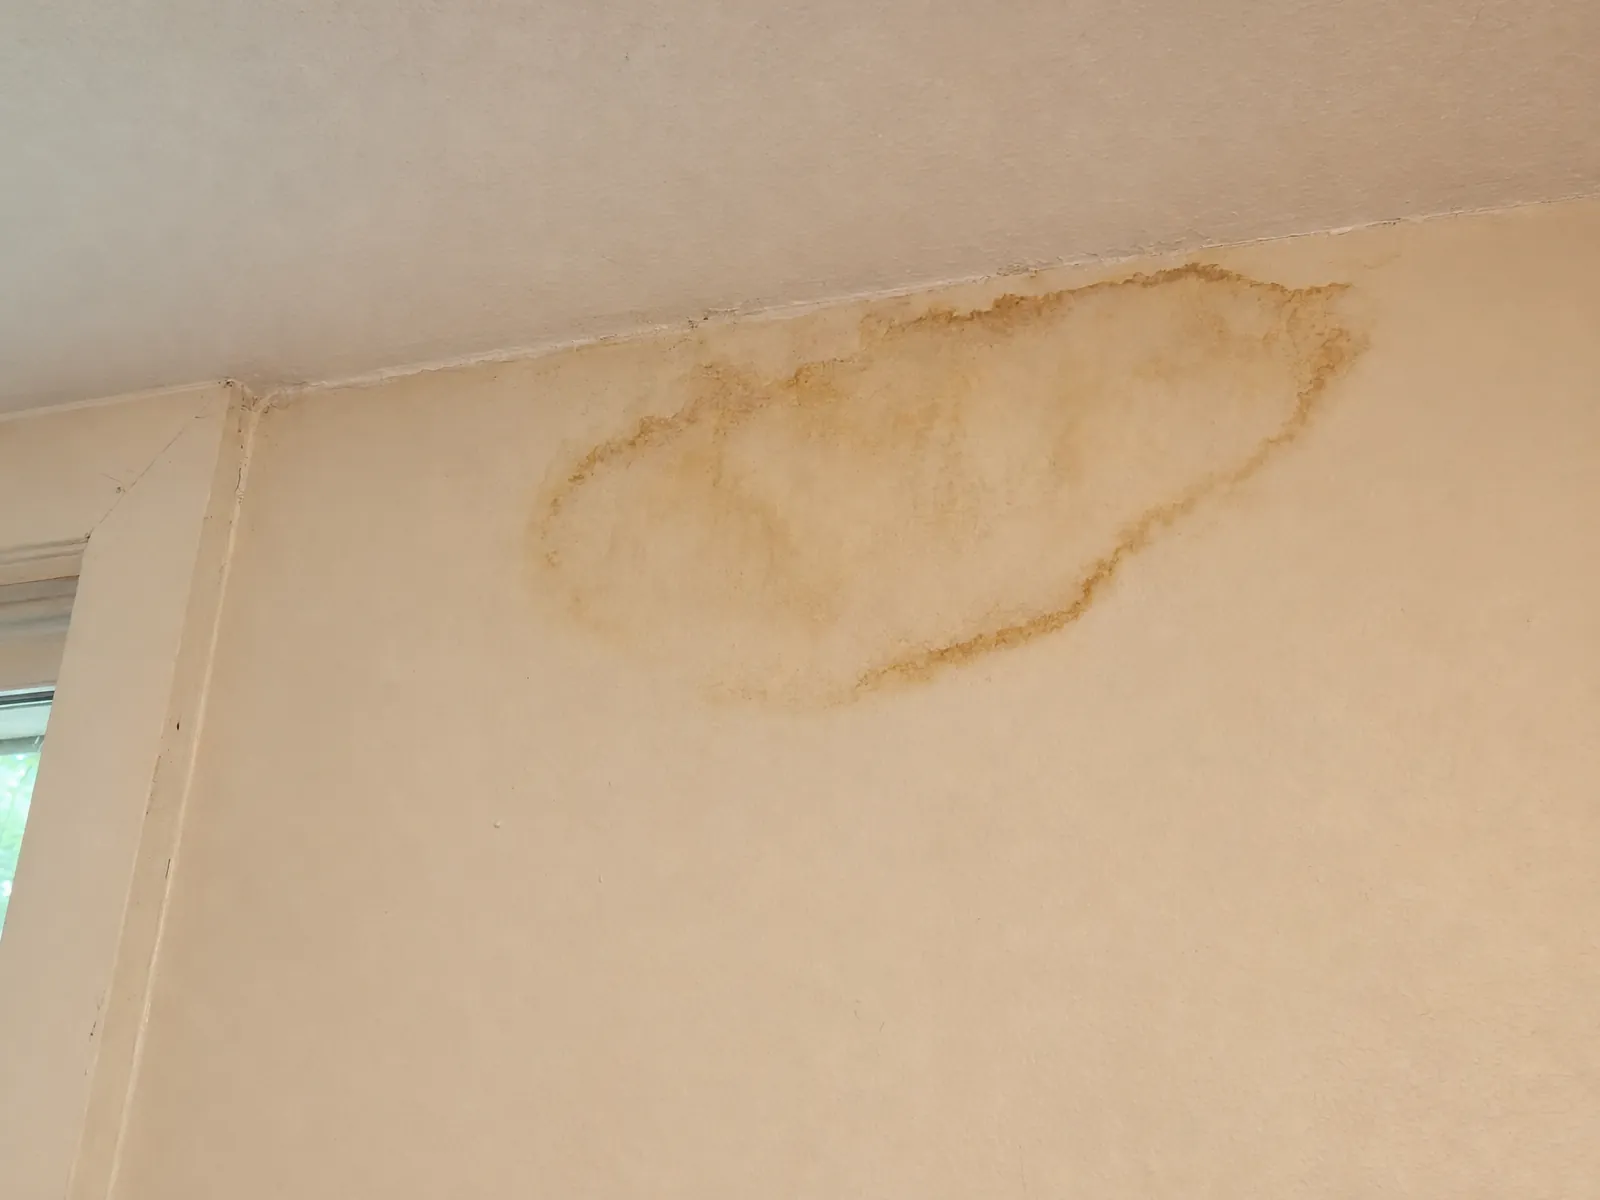
- Stains, soft spots and swollen seams after a roof, pipe or window leak, repaired after the leak has been dealt with and the board reads dry.
- Smooth-finish patching
- Patches skimmed flat so they vanish under side light on the plain, untextured walls many custom homes have.
- Patching after a remodel
- Openings left by moved outlets, new plumbing, removed cabinets or a shifted doorway, closed, backed and blended.
- Wall and ceiling crack repair
- Seam cracks, corner splits and nail pops, retaped and reset so they stay closed through the wet months and the dry ones.
Options
Patch or replace: three ways to fix one wall
The smallest fix that holds is the right one. Here's how the usual options compare.
| Small patch | New section of board | Skim coat over the wall | |
|---|---|---|---|
| Fits | Holes up to about a hand's width, dents, pops | Soft, stained-through or crumbling board; holes bigger than a hand | Many repairs close together, or old texture you want gone |
| Visits | Usually one, sometimes two | Two or three, for tape, coats and sanding | Two or more, depending on drying |
| Dust | Very little | Some, kept to the room | The most of the three |
| Paint after | A touch-up may show; rolling the wall is safer | Prime, then paint the wall | Prime and paint the whole surface |
| Skip it when | The board behind is wet or crumbling | A patch would hold just as well | Only one or two spots need help |
Most calls land in the first column. When that's the case we say so, even though the bigger job would take more of our time.
Materials
Board and texture: what sits behind the paint
Knowing what your wall is made of decides how a repair is built and how it gets matched.
- Half-inch gypsum board
- The everyday wall sheet. Easy to cut, easy to match in thickness, and what most patches are made from.
- Five-eighths fire-rated board
- Heavier and stiffer. Often found on the wall and ceiling between an attached garage and the house, where it should be repaired in kind.
- Moisture-resistant board
- Used in some bathrooms and laundry rooms. It handles damp better than plain board, but it isn't waterproof.
- Plaster over wood lath
- Found in older houses. Repairs use different materials and a lighter hand than drywall.
- Setting vs. premixed compound
- Setting compound hardens chemically and suits deep fills; premixed dries in air and sands easily for final coats. In the damp months, setting compound can save a day.
- Textures
- Smooth (a full skim), light orange peel, knockdown and hand-troweled. Smooth is the hardest to hide a patch in, because there's no pattern to blend into.
Matching starts with a close photo in angled light. We test texture on scrap board before it goes on your wall, and we tell you up front if an exact match on an unusual hand texture isn't realistic.
Newer houses
Recent builds: what the first winters reveal
New framing lumber keeps drying for a while after the walls are closed. As it shrinks, screws and nails get pushed proud of the surface, seams at inside corners open into hairlines, and the gap where a ceiling meets an interior wall can widen.
None of that is a sign of a bad house. It's normal settling, and the island's wet-winter, dry-summer pattern means the framing moves in a yearly cycle while it adjusts.
Our honest advice: if the house is new, let it go through one full winter and one summer before fixing cosmetic cracks. Then fix them all in one visit. Patching during the first winter usually means patching again in the second.
A gap where an inside partition meets the ceiling, wider in cold weather and nearly shut by summer, is often truss movement. Retaping it solid won't stop it. A floating corner or flexible bead lets the ceiling move without tearing the joint.
Other trades
Trade holes: closing up after wiring and pipes
Electricians, plumbers, heating installers and low-voltage techs all cut drywall to get their work done. That's expected. Their job ends when the wire or pipe is in; closing the wall usually falls to someone else.
A good trade patch has backing behind every edge, so the new piece can't push in. We use wood cleats or backing strips, screw the new board to them, tape the seams and put on three thin coats. Then the patch gets primed and is ready for paint.
Two tips that save time. Ask the trade to cut neat rectangles instead of ragged holes, and to save the cut-out pieces. And if the work needed a permit, wait until the inspection is done before booking the patch.
More detail on how remodel openings get closed, from outlet moves to shifted doorways.
Garages and lower floors
Garage and basement walls: damp first, board second
Garage walls take hits: car doors, bikes, kayaks, lawn equipment. A dent or a hole there is usually a simple patch. The one rule is that the wall shared with the house, and the ceiling under any living space above, is often fire-rated board. We repair that wall with the same type of board and tape every joint so the separation still does its job.
Lower-floor walls are a different story. If a basement wall feels cool and damp, shows a tide line near the floor, or smells musty, the problem is water, not drywall. Fix the grading, gutter or plumbing issue first.
Then let it dry. On this island the wet season runs long, so a dehumidifier and some patience are part of the repair. We'll check moisture before closing anything, and if the readings aren't there yet, we'll tell you to wait.
Ceilings
Overhead problems: stains, seams and sag
- Stain rings
- When dry and firm, they get a coat of shellac- or oil-based stain blocker ahead of paint. Plain latex on its own lets the mark bleed back through.
- Sag between joists
- Ceiling board that got wet and drooped won't go back up. That section comes out and gets replaced.
- Visible seam lines
- Tape showing through paint, or a ridge along a joint. Retaped and feathered wide.
- Popcorn texture
- Patchable with spray texture. If the ceiling went up before the 1980s, a lab test before disturbing it is the sensible first step.
- Corner cracks in winter
- Often truss movement, covered in the newer-house notes above.
For a stain that came from a leak, read what happens with a leak-stained ceiling.
Area
Island first: plus a few Kitsap neighbors
The City of Bainbridge Island's limits take in the entire island, so any address on it is in our area: Winslow, Eagle Harbor, Port Blakely, Lynwood Center, Fletcher Bay, Rolling Bay, Port Madison and everything between.
Across the Agate Pass Bridge we also take work in Suquamish, Poulsbo, Keyport, Indianola, Kingston and Silverdale, with Port Orchard when the schedule allows.
Older houses
Pre-commuter houses: plaster, early board, old paint
Winslow was already an incorporated town in 1947, and the island only became a Seattle commuter community in the decades after. So some houses here are older than drywall's spread, and some have early board that's thinner than today's.
Plaster over lath cracks in webs and can pull away from the wood. We re-secure loose areas with plaster washers before filling, which keeps the old wall instead of tearing it out. Early drywall gets matched with shims or a skim so the patch sits flush.
Paint is the other question. If the house was painted before 1978, a lead test before sanding is the sensible step. We keep sanding to a minimum and contain dust in any older house either way.
Checklist
Prep list: what to snap, measure and shut off
- Photograph it twiceOne wide shot of the wall, then a close one lit from a low angle so every ridge throws a shadow.
- MeasureWidth and height of the damage, plus how high off the floor it sits.
- Stop the waterFor a leak, close the fixture valve or the main shutoff before anything else.
- Note what's nearbyA bathroom above, a roof valley, an outside wall facing the weather.
- Find leftover paintA can with the color name saves a guess at matching.
- Mention tenantsIf someone rents the place, give access times.
Landlords handling a move-out can start with our rental turnover notes for landlords.
Contact
Next step: one photo or one call
Describe the damage and which room it's in. We'll reply with an honest read on the size of the job, and we'll say so if it isn't worth hiring anyone for.
Open 7 days, 7am–9pm